9.9 KiB
Image VLM Fine-tuning with Qwen2.5-VL
This project demonstrates fine-tuning Vision-Language Models (VLMs) for image understanding tasks, specifically using the Qwen2.5-VL-7B model for wildfire detection from satellite imagery using GRPO (Generalized Reward Preference Optimization).
Overview
The project includes:
- Interactive Training Interface: Streamlit-based UI for configuring and monitoring VLM fine-tuning
- GRPO Training: Advanced preference optimization for better reasoning capabilities
- Multiple Fine-tuning Methods: Support for LoRA and Full Finetuning
- Side-by-side Inference using vLLM: Run the base model and fine-tuned model side-by-side to compare performance
Contents
1. Model Download
Note
: These instructions assume you are already inside the Docker container. For container setup, refer to the main project README at
vlm-finetuning/assets/README.md.
1.1 Download the pre-trained model
hf download Qwen/Qwen2.5-VL-7B-Instruct
1.2 (Optional) Download the fine-tuned model
If you already have a fine-tuned checkpoint, place it in the saved_model/ folder. Your directory structure should look something like this. Note that your checkpoint number can be different.
saved_model/
└── checkpoint-3/
    ├── config.json
    ├── generation_config.json
    ├── model.safetensors.index.json
    ├── model-00001-of-00004.safetensors
    ├── model-00002-of-00004.safetensors
    ├── model-00003-of-00004.safetensors
    ├── model-00004-of-00004.safetensors
    ├── preprocessor_config.json
    ├── special_tokens_map.json
    ├── tokenizer_config.json
    ├── tokenizer.json
    ├── merges.txt
    └── vocab.json
If you already have a finetuned checkpoint that you would like to just use for a comparative analysis against the base model, skip directly to the Finetuned Model Inference section.
2. Dataset Preparation
The project uses a Wildfire Detection Dataset with satellite imagery for training the model to identify wildfire-affected regions. The dataset includes:
- Satellite and aerial imagery from wildfire-affected areas
- Binary classification: wildfire vs no wildfire
2.1 Create a dataset folder
mkdir -p ui_image/data
cd ui_image/data
2.2 Dataset Download
For this finetuning playbook, we will use the Wildfire Prediction Dataset from Kaggle. Visit the kaggle dataset page here to click the download button. Select the cURL option in the Download Via dropdown and copy the curl command.
Note
: You will need to be logged into Kaggle and may need to accept the dataset terms before the download link works.
Run the following commands in your container:
# Past and run the curl command from Kaggle here, and then continue to unzip the dataset

unzip -qq wildfire-prediction-dataset.zip
rm wildfire-prediction-dataset.zip
cd ..
3. Base Model Inference
Before we start finetuning, let's start spin up the demo UI to evaluate the base model's performance on this task.
3.1 Spin up the Streamlit demo
streamlit run Image_VLM.py
Access the streamlit demo at http://localhost:8501/.
3.2 Wait for demo spin-up
When you access the streamlit demo for the first time, the backend triggers vLLM servers to spin up for the base model. You will see a spinner on the demo site as vLLM is being brought up for optimized inference. This step can take upto 15 mins.
After the streamlit demo is fully loaded, you should be able to see a similar UI state that is ready for inference.
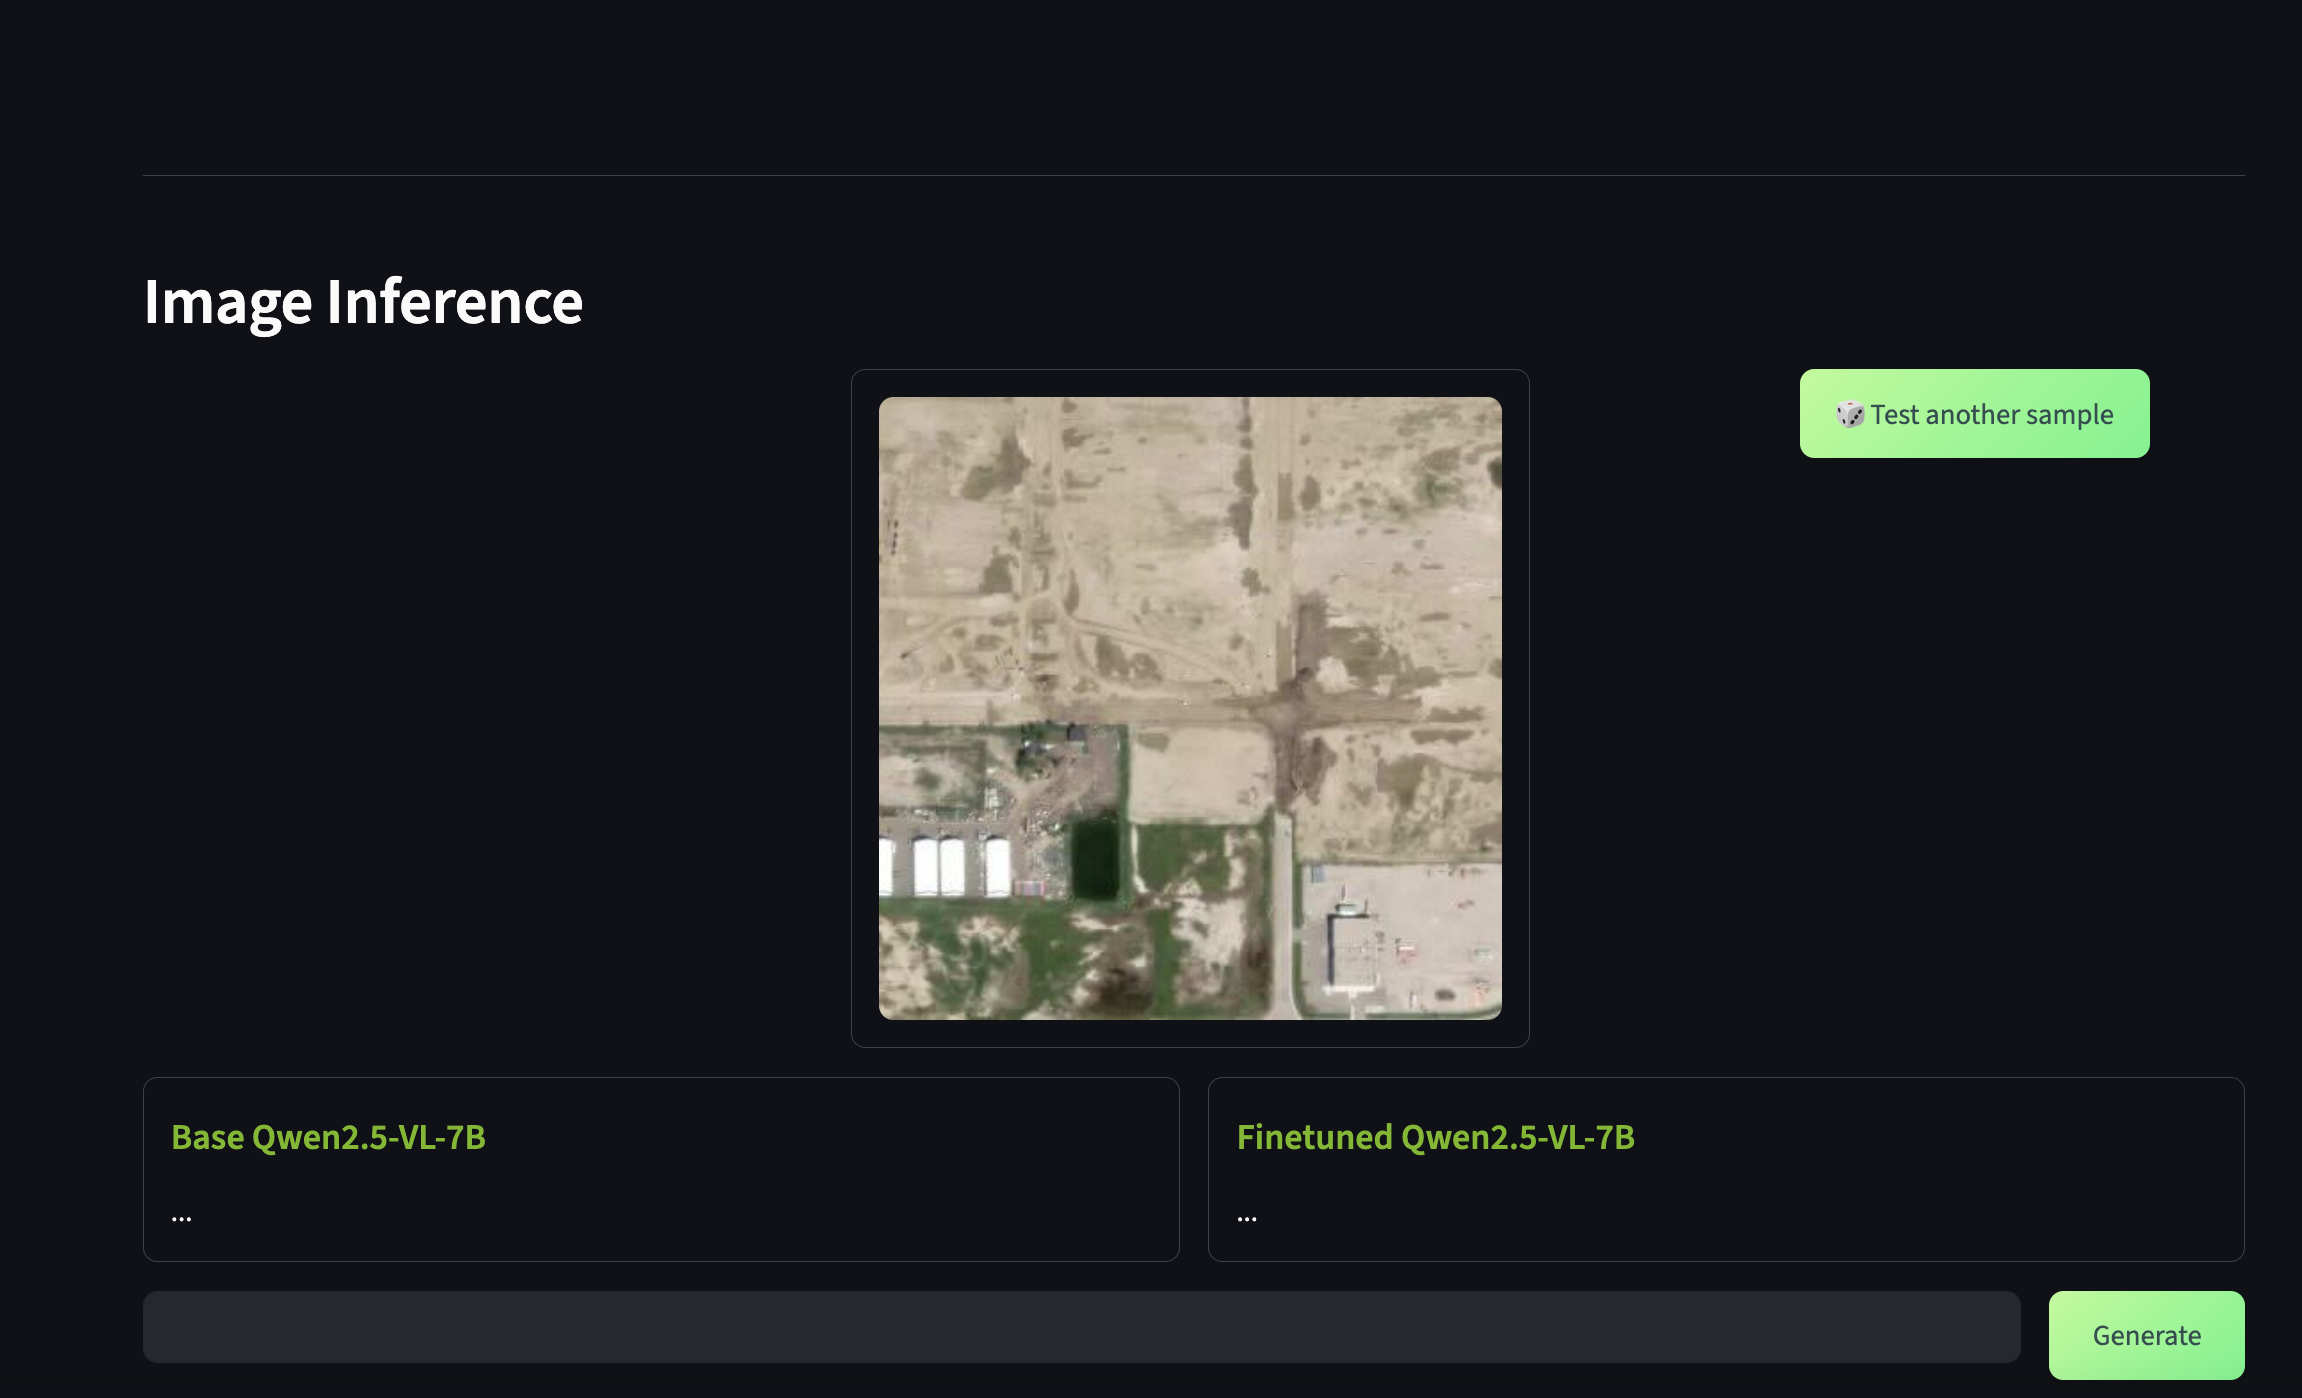
3.3 Run base model inference
Since we are currently focused on inferring the base model, let's scroll down to the Image Inference section of the UI. Here, you should see a sample pre-loaded satellite image of a potentially wildfire-affected region.
Enter your prompt in the chat box and hit Generate. Your prompt would be first sent to the base model and you should see the generation response on the left chat box. If you did not provide a finetuned model, you should not see any generations from the right chat box.
As you can see, the base model is incapable of providing the right response for this domain-specific task. Let's try to improve the model's accuracy by performing GRPO finetuning.
4. GRPO Finetuning
We will perform GRPO finetuning to add reasoning capabilities to our base model and improve the model's understanding to the underlying domain. Considering that you have already spun up the streamlit demo, scroll to the GRPO Training section.

4.1 Model Settings
Configure the finetuning method and lora parameters based on the following options.
Finetuning Method: Choose from Full Finetuning or LoRALoRA Parameters: Adjustable rank (8-64) and alpha (8-64)
4.1 Finetune layers
You can additionally choose whether the layers you want to finetune in the VLM. For the best performance, ensure that all options are toggled on. Note that this will increase the model training time as well.
4.2 Training parameters
In this section, we can select certain model parameters as relevant to our training run.
Steps: 1-1000Batch Size: 1, 2, 4, 8, or 16Learning Rate: 1e-6 to 1e-2Optimizer: AdamW or Adafactor
4.3 GRPO settings
For a GRPO setup, we also have the flexibility in choosing the reward that is assigned to the model based on certain criteria
Format Reward: 2.0 (reward for proper reasoning format)Correctness Reward: 5.0 (reward for correct answers)Number of Generations: 4 (for preference optimization)
4.4 Start training
After configuring all the parameters, hit Start Finetuning to begin the training process. You will need to wait about 15 mins for the model to load and start recording metadata on the UI. As the training progresses, information such as the loss, step, and GRPO rewards will be recorded on a live table.
The default loaded configuration should give you reasonable accuracy, taking 100 steps of training over a period of upto 2 hours. We achieved our best accuracies with around 1000 steps of training, taking close to 16 hours.
After training is complete, the script automatically merges lora weights into the base model. After the training process has reached the desired number of training steps, it can take 5 mins to merge the lora weights.
4.5 Stop training
If you wish to stop training, just hit the Stop Finetuning button. Please use this button only to interrupt training. This button does not guarantee that the checkpoints will be properly stored or merged with lora adapter layers.
Once you stop training, the UI will automatically bring up the vLLM servers for the base model and the newly finetuned model.
5. Finetuned Model Inference
Now we are ready to perform a comparative analysis between the base model and the finetuned model.
5.1 (Optional) Spin up the Streamlit demo
If you haven't spun up the streamlit demo already, execute the following command. If had just just stopped training and are still within the live UI, skip to the next step.
streamlit run Image_VLM.py
Access the streamlit demo at http://localhost:8501/.
5.2 vLLM startup
Regardless of whether you just spun up the demo or just stopped training, please wait about 15 mins for the vLLM servers to be brought up.
5.3 Run finetuned model inference
Scroll down to the Image Inference section, and enter your prompt in the provided chat box. Upon clicking Generate, your prompt would be first sent to the base model and then to the finetuned model. You can use the following prompt to quickly test inference
Identify if this region has been affected by a wildfire
If you trained your model sufficiently enough, you should see that the finetuned model is able to perform reasoning and provide a concise, accurate answer to the prompt. The reasoning steps are provided in the markdown format, while the final answer is bolded and provided at the end of the model's response.
For the image shown below, we have trained the model for 1000 steps, which took about 16 hours.
5.4 Further analysis
If you wish to play around with these models with additional images, the Test another sample button will load another random satellite image.
File Structure
ui_image/
├── Image_VLM_Finetuning.py      # Main Streamlit application
├── README.md                    # This file
├── src/
│   ├── image_vlm_config.yaml    # Configuration file (update finetuned_model_id after training)
│   └── styles.css               # Custom UI styling
├── assets/
│   └── image_vlm/
│       └── images/
│           ├── wildfire/        # Wildfire-affected images
│           └── nowildfire/      # Non-wildfire images
├── assets/
│   └── inference_screenshot.png # UI demonstration screenshot
└── saved_model/                 # Training checkpoints directory (update config to point here)
Troubleshooting
If you are facing VRAM issues where the model fails to load or offloads to cpu/meta device, ensure you bring down all docker containers and flush out dangling memory.
docker ps

docker rm <CONTAINER_ID_1>
docker rm <CONTAINER_ID_2>

docker system prune

sudo sh -c 'sync; echo 3 > /proc/sys/vm/drop_caches'