| .. | ||
| assets | ||
| backend | ||
| frontend | ||
| .gitignore | ||
| docker-compose-models.yml | ||
| docker-compose.yml | ||
| Dockerfile.llamacpp | ||
| model_download.sh | ||
| README.md | ||
Chatbot Spark: A Local Multi-Agent System for DGX Spark
Project Overview
Chatbot Spark is a fully local multi-agent system built on DGX Spark. With 128GB of unified memory, DGX Spark can run multiple LLMs and VLMs in parallel — enabling interactions across agents.
At the core is a supervisor agent powered by GPT-OSS-120B, orchestrating specialized downstream agents for coding, retrieval-augmented generation (RAG), and image understanding. Thanks to DGX Spark’s out-of-the-box support for popular AI frameworks and libraries, development and prototyping were fast and frictionless. Together, these components demonstrate how complex, multimodal workflows can be executed efficiently on local, high-performance hardware.
Note
: This demo uses ~120 out of the 128GB of DGX Spark's memory by default, so ensure that no other workloads are running on your Spark using
nvidia-smior switch to a smaller supervisor model like gpt-oss-20B.
This project was built to be customizable, serving as a framework that developers can customize.
Key Features
-
MCP Server Integration: Chatbot Spark also showcases the ability to connect to custom MCP servers through a simple and customizable multi-server client
-
Tool Calling: This project uses an agents-as-tools framework and showcases the ability to create additional agents connected as tools. General tools can also be added.
-
Easily Swappable Models: Models are loaded and served using Llama CPP and Ollama and served through the OpenAI API. Any OpenAI-compatible model can be integrated into the project.
-
Vector Indexing & Retrieval: GPU-accelerated Milvus for high-performance document retrieval.
-
Real-time LLM Streaming: We present custom LLM-streaming infrastructure, making it easy for developers to stream supervisor responses from any OpenAI compatible model.
-
gpt-oss Integration: The default chat/tool-calling model is gpt-oss:120b, providing seamless integration with OpenAI's latest open sorce tool-calling model.
System Overview

Default Models
| Model | Quantization | Model Type | VRAM |
|---|---|---|---|
| GPT-OSS:120B | MXFP4 | Chat | ~ 63.5 GB |
| Deepseek-Coder:6.7B-Instruct | Q8 | Coding | ~ 9.5 GB |
| Qwen2.5-VL:7B-Instruct | BF16 | Image | ~ 35.4 GB |
| Qwen3-Embedding-4B | Q8 | Embedding | ~ 5.39 GB |
Total VRAM required: ~114 GB
Warning
: Since the default models use majority of available VRAM, ensure that you don't have anything already running on DGX Spark using
nvidia-smi. If you do, switch togpt-oss-20bfollowing this guide.
Quick Start
1. Clone the repository and change directories to the multi-agent chatbot directory.
2. Configure docker permissions
sudo usermod -aG docker $USER
newgrp docker
Warning
: After running usermod, you may need to reboot using
sudo rebootto start a new session with updated group permissions.
3. Run the model download script
The setup script will take care of pulling model GGUF files from HuggingFace. The model files being pulled include gpt-oss-120B (~63GB), Deepseek-Coder:6.7B-Instruct (~7GB) and Qwen3-Embedding-4B (~4GB). This may take between 30 minutes to 2 hours depending on network speed.
chmod +x model_download.sh
./model_download.sh
4. Start the docker containers for the application
This step builds the base llama cpp server image and starts all the required docker services to serve models, the backend API server as well as the frontend UI. This step can take 10 to 20 minutes depending on network speed.
docker compose -f docker-compose.yml -f docker-compose-models.yml up -d --build
Note: Qwen2.5 VL model container may be reported as unhealthy while starting up, which can be ignored.
Wait for all the containers to become ready and healthy.
watch 'docker ps --format "table {{.ID}}\t{{.Names}}\t{{.Status}}"'
Note
: If any of the model downloads fail, change directories to the
models/directory and delete the problematic file and start from step 3 again.
cd models/
rm -rf <model_file>
./model_download.sh
5. Access the frontend UI
Open your browser and go to: http://localhost:3000
Note: If you are running this on a remote GPU via an ssh connection, in a new terminal window, you need to run to be able to access the UI at localhost:3000 and for the UI to be able to communicate to the backend at localhost:8000:
ssh -L 3000:localhost:3000 -L 8000:localhost:8000 username@IP-address
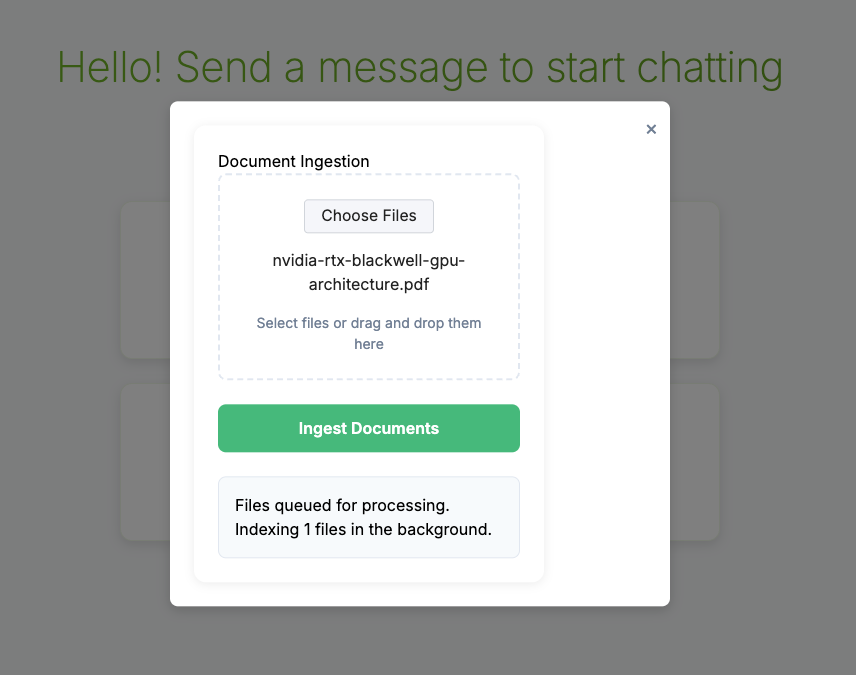
You should see the following UI in your browser:

6. Try out the sample prompts
Click on any of the tiles on the frontend to try out the supervisor and the other agents.
RAG Agent:
Before trying out the example prompt for the RAG agent, upload the example PDF document NVIDIA Blackwell Whitepaper as context by going to the link, downloading the PDF to the local filesystem, clicking on the green "Upload Documents" button in the left sidebar under "Context" and then make sure to check the box in the "Select Sources" section.
Note
: You may upload any PDF of your choice, and ask corresponding queries. The default prompt requires the NVIDIA Blackwell Whitepaper.
Image Understanding Agent:
Example Prompt:
Describe this image: https://en.wikipedia.org/wiki/London_Bridge#/media/File:London_Bridge_from_St_Olaf_Stairs.jpg
Cleanup
Follow these steps to completely remove the containers and free up resources.
From the root directory of the multi-agent-chatbot project, run the following commands:
docker compose -f docker-compose.yml -f docker-compose-models.yml down

docker volume rm "$(basename "$PWD")_postgres_data"
sudo sh -c 'sync; echo 3 > /proc/sys/vm/drop_caches'
You can optionally run docker volume prune to remove all unused volumes at the end of the demo.
Note
: If you do not execute these commands containers, will continue to run and take up memory.
Customizations
Using different models
You can use swap the model that the supervisor agent is using, for example to gpt-oss-20b.
- In
setup.sh, uncomment the line to download gpt-oss-20b.
Note: If you already have the model files downloaded, you can skip to step 2.
- In
docker-compose-models.yml, uncomment the block for gpt-oss-20b.
Note: Since the default models use all of the existing VRAM, you will need to comment out the block for gpt-oss-120b in
docker-compose-models.yml.
- In
docker-compose.yml, addgpt-oss-20bto theMODELSenvironment variable (line 40).
Note: This name should match the container name that you set for this model in
docker-compose-models.yml.
Adding MCP servers and tools
-
You can add more MCP servers and tools under backend/tools/mcp_servers following existing examples.
-
If you added an MCP server, remember to add it to the server configs in backend/client.py